Commercial Roofing
Avoid indecision when it is time to install or replace your commercial flat roof in Atlanta, Georgia. Understanding the roof installation process, materials, and maintenance needs is essential for a long lifespan. A professional roofing partner ensures your investment remains protected from the elements while maximizing energy efficiency and structural integrity.

New Image Roofing Atlanta explores the commercial low-slope roof installation process, types of roofing systems, and why choosing the right contractor (like New Image Roofing Atlanta) matters.
The process begins with a thorough inspection to evaluate current roof conditions. Roofing professionals look for signs of ponding water, membrane blistering, seam separation, flashing deterioration, and underlying structural concerns.
After documenting problem areas and measuring total square footage, the contractor prepares a detailed replacement quote. This estimate outlines material recommendations, labor costs, disposal fees, insulation upgrades, and warranty options. Transparency at this stage ensures building owners can make informed decisions that meet both budget and performance goals.
Tear-Off and Roof Deck Preparation

Once the quote is approved, the tear-off phase begins. The old membrane, insulation, and flashings are carefully removed to expose the roof deck. If damage to the decking is discovered, repairs or full replacement are made before installation continues.
Deck preparation includes:
This foundation sets the stage for a watertight and energy-efficient roofing system.
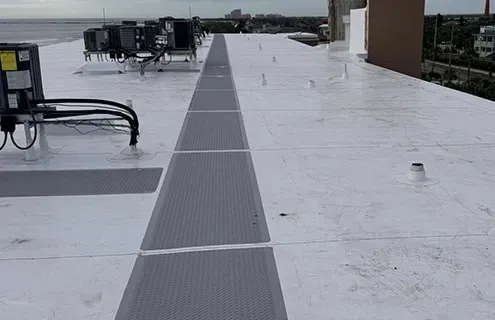
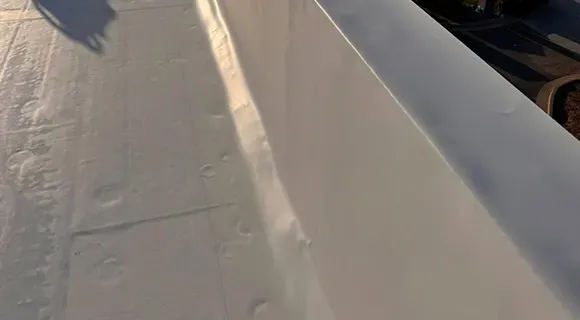
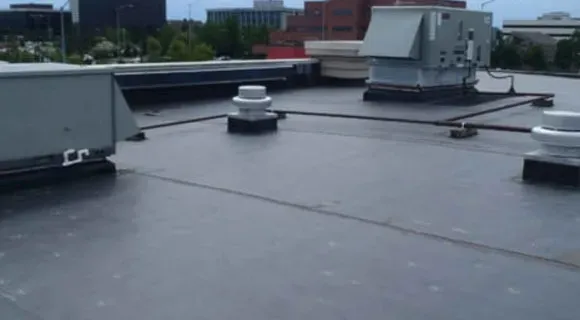
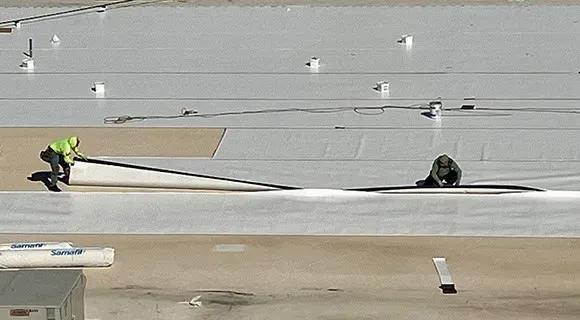
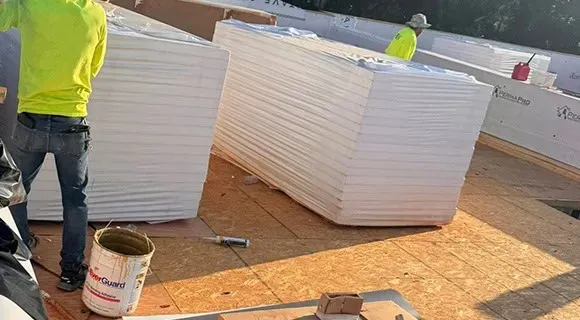
Low-Slope Roof Installation Process
The selected membrane system is installed (by the manufacturer’s guidelines and local codes). Installation methods vary based on the system type – mechanically fastened, fully adhered, or ballasted.
Key steps include:
A well-installed low-slope roof protects against wind uplift, thermal expansion, and water intrusion.
Watch this video to see a completed New Image Roofing Atlanta commercial TPO low-slope roof installation.
Selecting an appropriate roofing system determines its performance and cost-efficiency. Below are four common systems used for commercial low-slope applications:
1. TPO (Thermoplastic Polyolefin)

Installation Time: 3–7 days (depends on building size)
Lifespan: 15–20 years
Advantages: Reflective surface lowers cooling costs, heat-welded seams resist leaks, and recyclable material
Disadvantages: Vulnerable to punctures if walked on frequently
Maintenance: Annual inspection, seam check, debris removal
2. EPDM (Ethylene Propylene Diene Monomer)
Installation Time: 4–8 days
Lifespan: 20–25 years
Advantages: Durable rubber membrane, excellent UV resistance, low material cost
Disadvantages: Seams sealed with adhesive instead of welding, which may degrade over time
Maintenance: Regular inspection of seams and patches
3. PVC (Polyvinyl Chloride)
Installation Time: 3–6 days
Lifespan: 20–30 years
Advantages: High chemical resistance, fire resistance, and energy-efficient
Disadvantages: More expensive than TPO or EPDM, may become brittle over decades
Maintenance: Biannual checks, cleaning, and fastener inspection
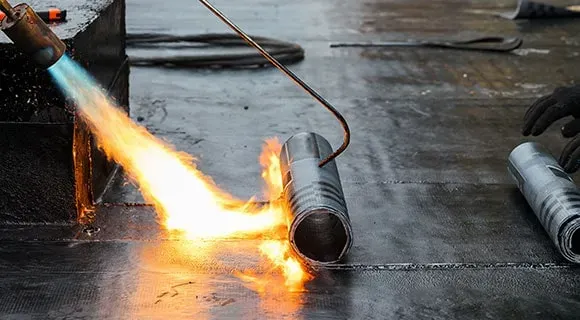
4. Modified Bitumen
Installation Time: 4–9 days
Lifespan: 15–25 years
Advantages: Multiple installation options (torch, cold adhesive, self-adhered), strong resistance to tears
Disadvantages: Labor-intensive, may require special equipment
Maintenance: Inspections after storms, resealing of seams
Every roofing system, regardless of its durability, benefits from proactive care. New Image Roofing Atlanta offers comprehensive commercial maintenance programs that extend a roof’s lifespan, reduce repair costs, and protect building assets.
Program features include:
This maintenance plan minimizes surprises and ensures the roof’s performance remains consistent through Georgia’s hot summers and wet winters.
New Image Roofing Atlanta has a reputation for quality workmanship, responsiveness, and commercial expertise. With a team trained in the latest flat roofing systems, they guide each project from inspection to final walk-through with professionalism and care.
Reasons to work with New Image Roofing Atlanta:
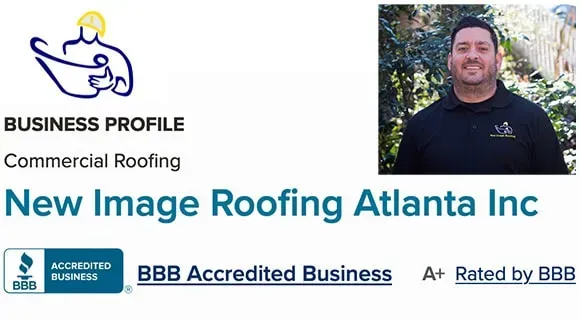
BBB Accredited Business – New Image Roofing Atlanta is an accredited A+ Rated roofing contractor.
Whether managing a retail space, warehouse, or office complex, property owners trust New Image Roofing Atlanta to deliver durable solutions on schedule and within budget.
1. Roof Slope and Drainage
Low-slope roofs require proper drainage to prevent ponding, which accelerates material wear and leaks. Ensure slopes meet minimum design requirements and install internal or scupper drains where needed.
2. Building Usage
Choose roofing systems based on usage. Restaurants, for example, may require PVC due to its chemical resistance. Offices may benefit from reflective TPO for energy savings.
3. Insulation Performance
Improving R-value during roof replacement helps reduce heating and cooling costs. Consider polyiso insulation or tapered systems to increase energy efficiency and drainage.
4. Local Climate
In Georgia, the hot summers, high humidity, and severe thunderstorms require robust roofing that can effectively handle thermal cycling and water. Select systems with proven performance in regional conditions.
5. Budget and Warranty
While initial cost matters, consider total lifecycle costs. Some systems offer extended warranties, lower maintenance needs, or utility savings that outweigh the upfront expense.
6. Contractor Reputation
Partner with a contractor that stands behind their work, offers warranties, and communicates clearly. Read reviews, check references, and verify licensing and insurance.
7. Post-Installation Support
A strong warranty and maintenance agreement will protect the investment. Select a contractor offering long-term service and annual evaluations.
Commercial Flat Roof Installation
In this article, you discovered the commercial low-slope roof installation process, types of roofing systems, and why partnering with the right roofing contractor (like New Image Roofing Atlanta) matters.
Partnering with New Image Roofing Atlanta ensures your Georgia business stays protected, efficient, and secure. With our company, you get detailed planning, expert installation, and long-term care (with trusted materials, proven installation and maintenance systems, and a dedicated roofing team).
Your choices matter. Working with inexperienced or underqualified commercial roofers can result in a leaking roof, paralyzed business operations, a voided warranty, and costly repairs.